Banana and Brownie Ice Cream Sandwich
What happens when you combine a delicious allergy free brownie with some dreamy allergy free (and paleo) ice cream? Mmmmmm happens!
Let me just tell you that food can get BORING when your food choices are limited. But, we don't like to focus on that in this house. I mean, it's allowed, because we're all human and sometimes we truly DO feel it, but focus on it? I don't think so. Not as long as I am MOM.
For the most part, I keep our dessert choices pretty paleo. From time to time, however, I get the itch to use a box recipe. It's quick, easy, and allows you to just bake.
When I get into these moods, I put my faith into Enjoy Life Foods. I love that this company has managed to keep ALL of their products TOP 8 FREE, and very delicious! They even have some paleo approved products- so for us, it's a win win! Plus, I can have a peace of mind knowing that the ingredients they use are non-gmo and good quality!
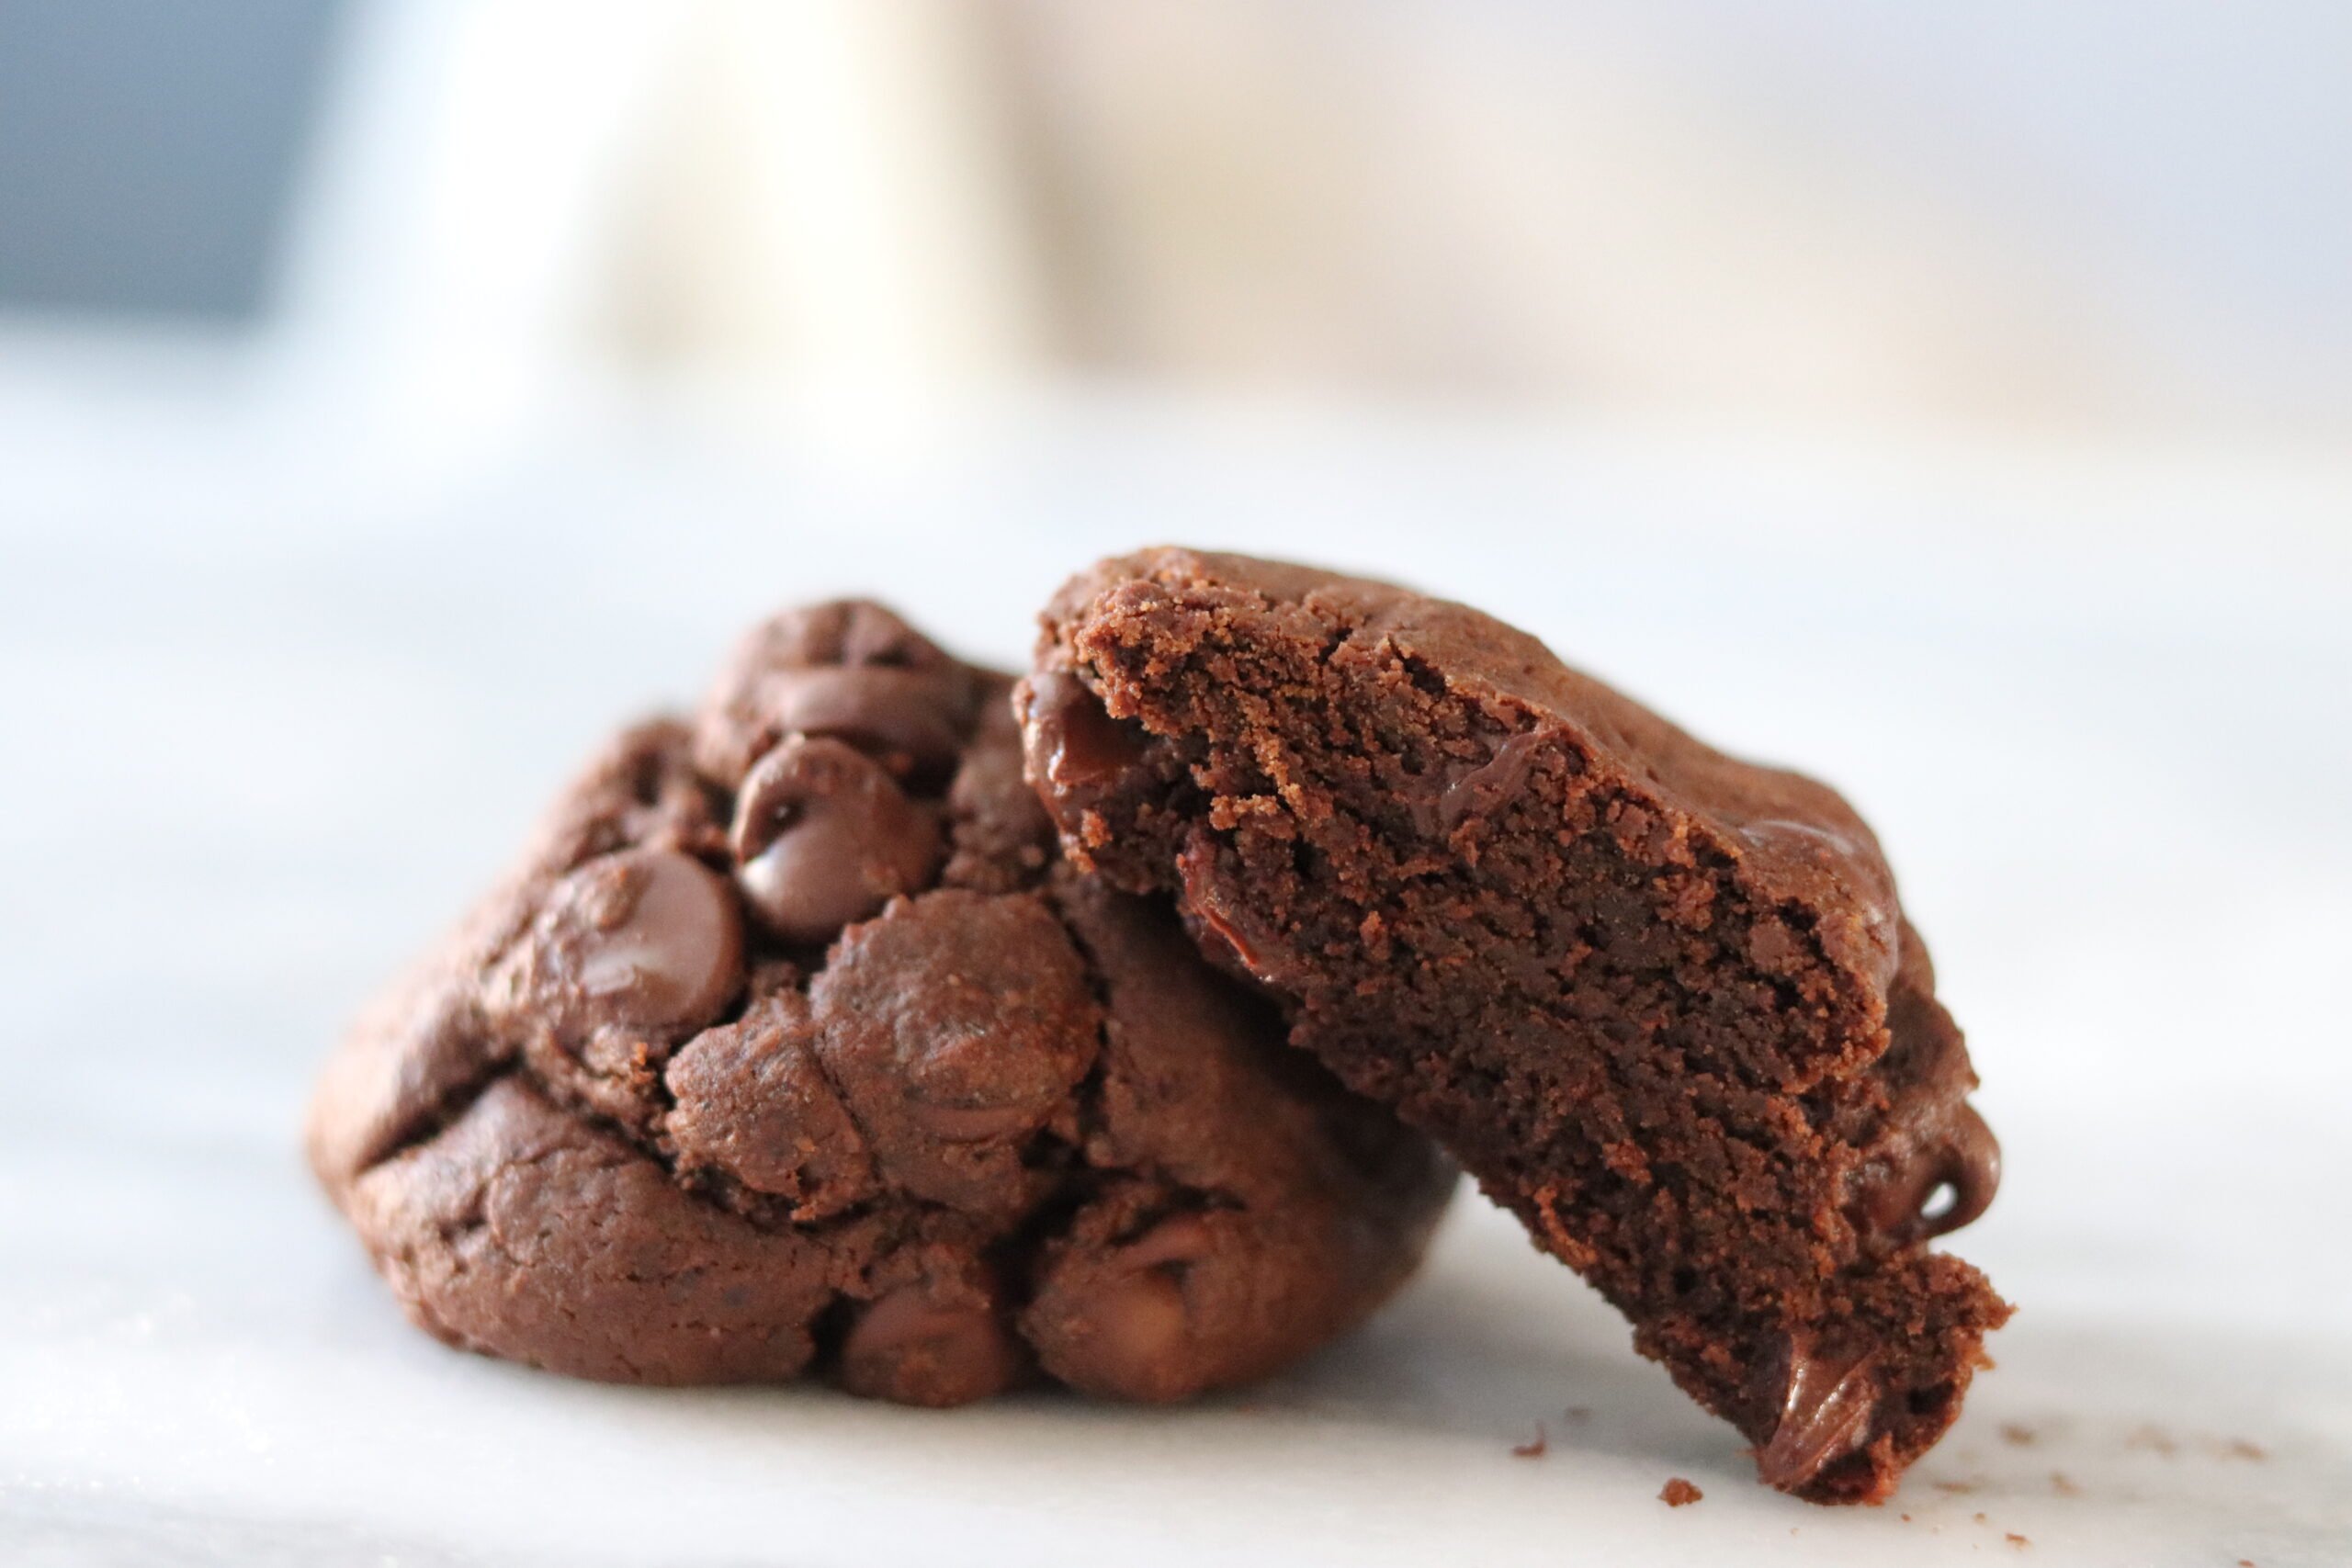
Look at that CHOCOLATE! It took me a try or two to find the best technique to get the perfect chocolate "sandwich" but when I did, it was glorious. (Yes, I hear how ridiculous I sound over food.. it is what it is.) 🙂
I used Enjoy Life's Brownie mix for the sandwich. I followed the mixing directions as usual but instead of baking them in a deep dish pan, I used a basic sheet pan. Yup! I used the same pan I use to bake cookies on! I used coconut oil to lightly grease the pan and poured the batter on, making sure to start at one side and work my way out to the other. The batter doesn't cover the entire pan though, so one side will be crazy uneven. Helpful hint- that side is for snacking as you make your sandwiches.
THIS step is not necessary (I didn't do it), but it may be helpful if you don't have a sheet pan that you can use a steel spatula on. Instead of greasing your pan, lay a silpat sheet down. The edges are going to pull away from the side of the pan and having the silpat sheet will make it easier to remove your brownie from the pan. Like I mentioned above, I did not do this. Instead, I lightly greased the pan and after the brownies cooled completely, I used a steel spatula to get a better scrape under the brownies to get them up. It worked fine, but there are other options!!
Once you have use whatever technique worked for you to remove the brownies from the pan, they need to cool completely. And I mean COMPLETELY. Remember you will be putting ice cream on them and you don't need a drippy mess. So, best bet is to put them in the fridge for up to 2 hours. I planned ahead and made them before bed so they were able to cool over night. When I did this, I also tossed about 6 cut up bananas into a freezer bag and let them freeze over night. This will be the base for our ice cream!
If you haven't had the joy of discovering how simple it is to make healthy, delicious, banana ice cream... you have no idea what you're in for. This was probably one of my first favorite "health food" snacks. Over time, I have learned that it's just nice to always have a bag of frozen bananas in the freezer. It just makes life easier. 🙂
All you do to make the ice cream is place your frozen bananas into a good blender and turn it on. That is it! You may have to stop once or twice to scrape down the sides and make sure you are getting all of the small bits, but it is that simple. I add a little honey and a little vanilla to mine also to amp up the flavors! Try not to lose faith in your blender and add water tho. When you do this, you start to turn it into a milkshake consistency and we don't want that. We need it to be super thick, just like ice cream, so our sandwiches turn out perfect!
Now it is time to assemble. Pull the brownies out of the fridge if you haven't already and lay them fancy side down. The fancy side will be the side that is normally facing up after baking. Using a knife, cut your square into two even squares. To make sure that my brownies didn't crack and because I knew I would be cutting them up later anyways, I went ahead and broke mine into 4 squares.
So, ice cream is made. Brownies are ready. Everything is cold. Let's move on. Blob the ice cream on to the brownies- yes "blob" is a technical term... in my kitchen. You want the ice cream on there thick. Even, but thick. So have no shame.
I think I even added a little more after this picture. Thick! Once you do this step, flip the top onto the brownie bottom (note, there should be a top and a bottom piece.) Then place it into the freezer for another few hours. I was bad about keeping track of the time but it had to be about 4 hours or more. I'm sure it would work in about two.
After you've let the sandwich slabs freeze, you can take them out of the freezer and cut them into individual serving sizes. I did a few normal sized ones and a lot of mini sandwiches. Mainly because these are for the kids and there is no way I would be giving them an adult sized amount of chocolate!! :0
Serve right away or wrap up and save for later! For more specifics, check out the recipe below. Thanks for stopping by and ENJOY!